Professional Bulk Photo Scanning Solutions

Contact Me
Reach out to discuss your photo scanning needs and choose the package that best fits your collection. Whether you prefer to call (904-419-3570), text, or email, I’m here to assist you every step of the way.
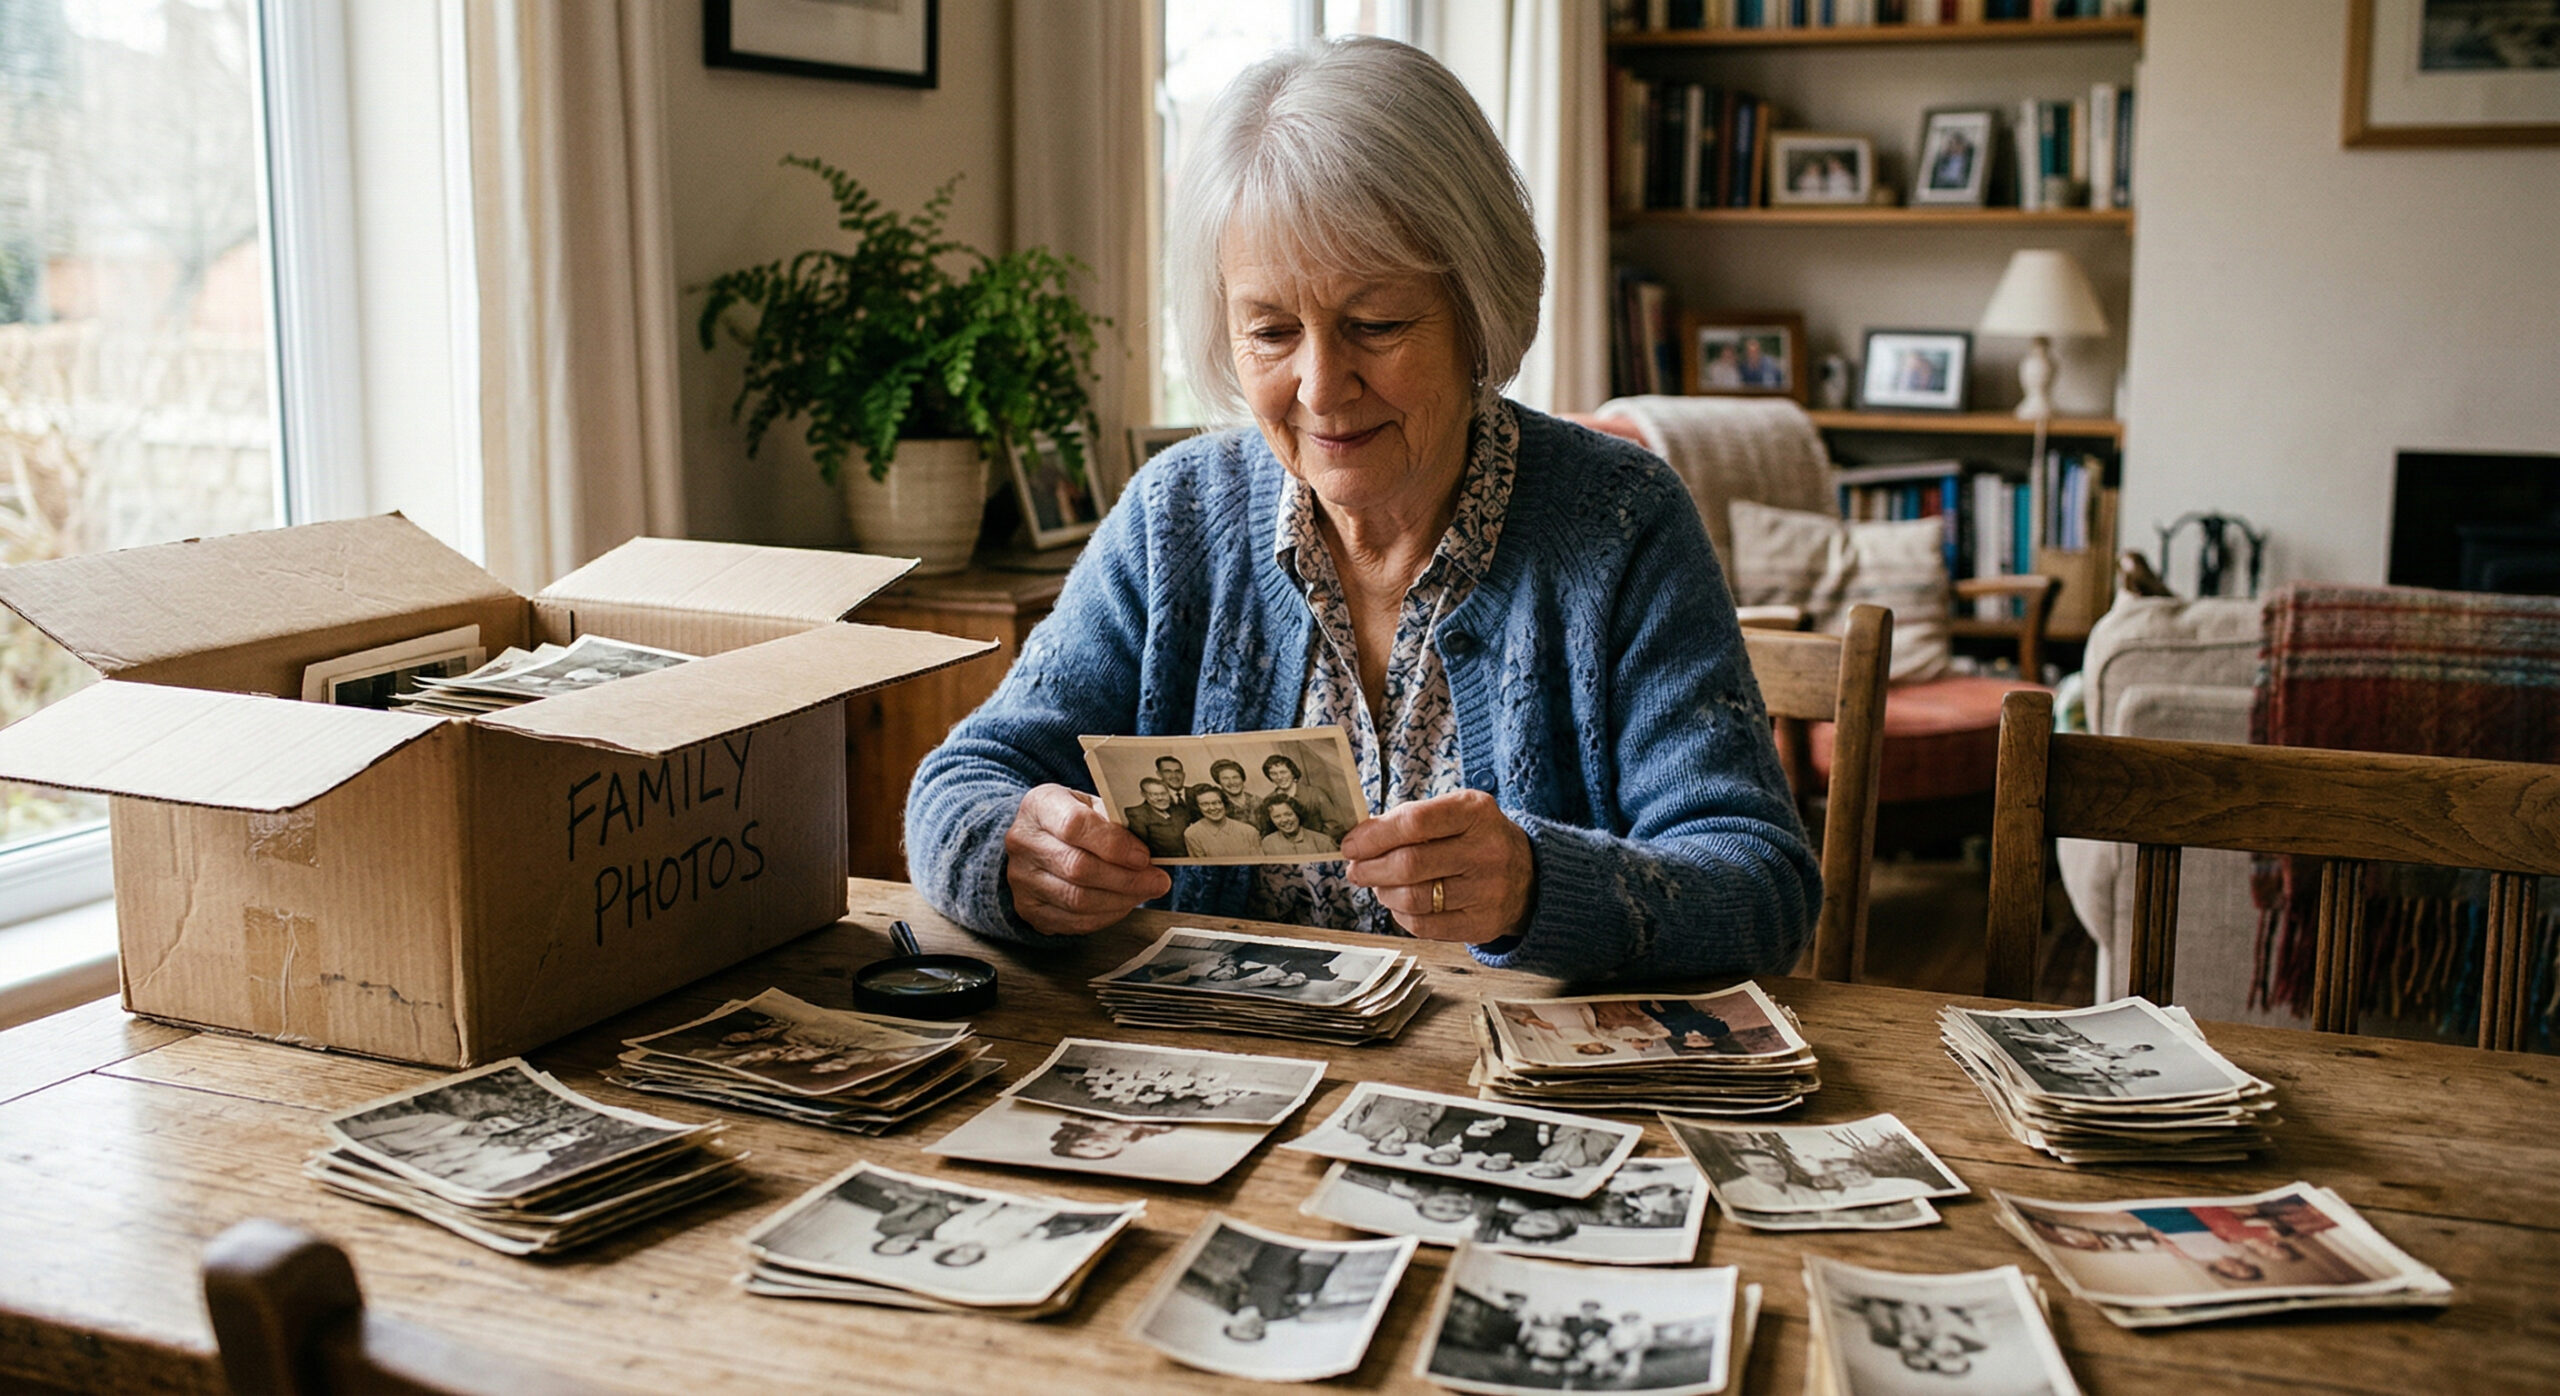
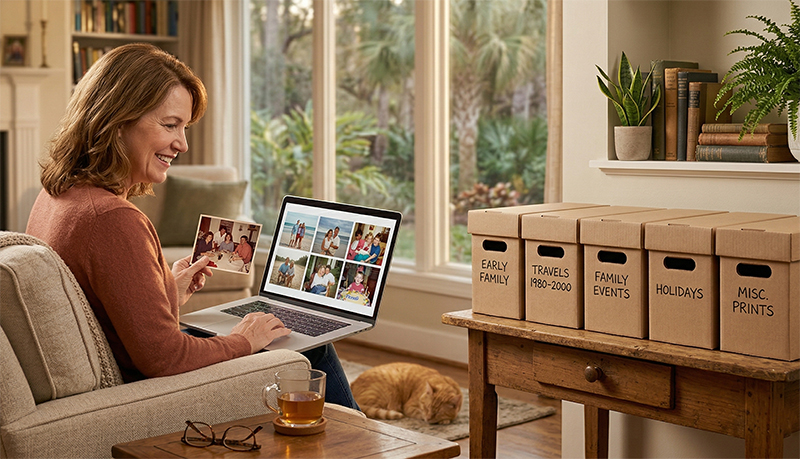
Prepare & Review Your Photos
Gather your photos, slides, or negatives. We’ll go over your photos together and make sure everything is organized and ready for scanning. I’ll help guide you through the process so it feels simple and stress-free.
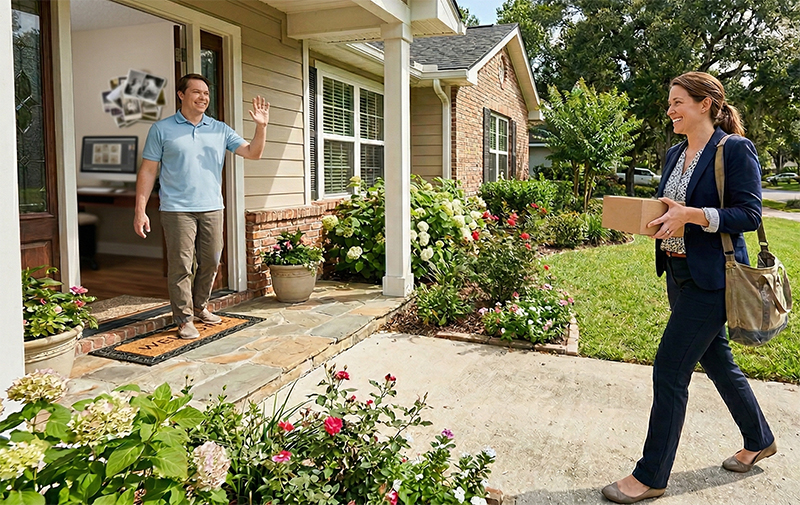
Schedule Drop-Off or Pickup
Skip the risk of mailing your photos — I offer safe, local pickup and drop-off. My home office is in the San Pablo area, with service available by appointment throughout Jacksonville including Southside, Beaches, Arlington, Mandarin, and Nocatee. Outside these areas, shipping can be arranged.
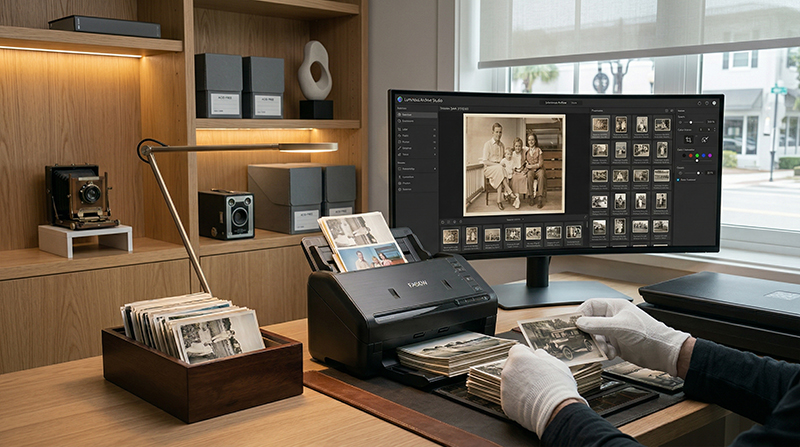
Careful Scanning & Digitizing
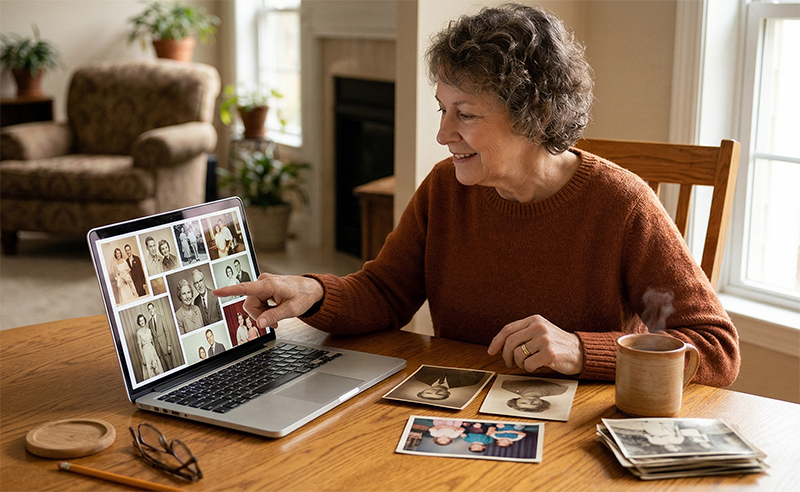
Your photos will be carefully scanned at high resolution (up to 1200 dpi), ensuring every detail is captured. I’ll handle them with care, rotating, cropping, and straightening each image as needed. Basic color and exposure corrections are applied to enhance the quality of your photos.
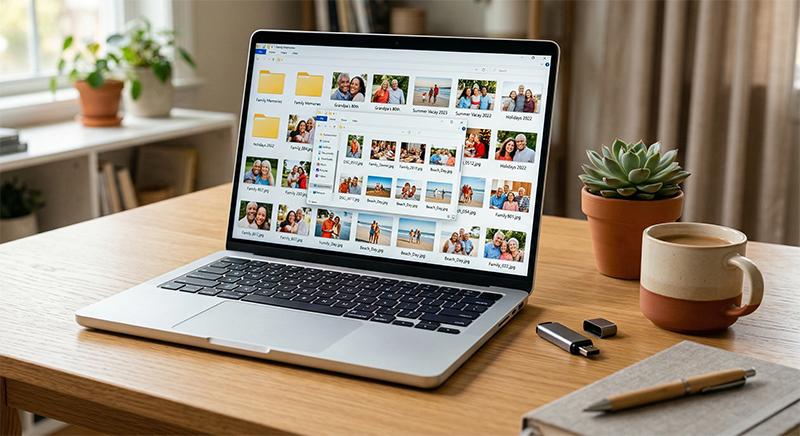
Preview Your Digital Files
Once the scanning process is complete, you’ll receive a USB flash drive with your photos in JPG format. I’ll also send you a link to download a zip file of your images, making it easy to save and share your digital memories.
Review & Optional Enhancements
A Zip (archive) file will be created containing all files and I will email a link to download the file through a service called SwissTransfer. Review your digital files and let me know if you need any additional services or corrections. I offer various add-ons to further enhance your photos, including colorization and restoration.
Final Files & Organized Keepsakes
Your original photos will be returned to you along with your digital files. Your files will be saved on a USB Flash Drive as well as any additional media you selected, such as DVD or portable hard drive.
If you opted for pickup, I’ll return the photos to your location. If you shipped them to me, they’ll be sent back securely.